
What to Expect During Your Next Asphalt Resurfacing Project
The asphalt resurfacing process is more straightforward than you might think, especially when you understand what happens at each stage. This asphalt resurfacing timeline breaks down everything from the first phone call to post-project care, helping you plan ahead and stay confident from start to finish.
Day 1: You Reach Out for a Quote
The process starts with a simple call, email, or form submission. From there, you’ll typically answer a few quick questions to help the contractor understand your needs. These might include:
- Is this a residential driveway, commercial lot, or something else?
- How large is the area you’re resurfacing?
- Are there any major cracks, drainage problems, or uneven surfaces?
This initial information helps get the ball rolling and allows the team to prepare for a more detailed on-site inspection. If you’re contacting a contractor during peak season—usually spring through early fall—it’s a good idea to reach out as early as possible. Booking in advance gives you more flexibility with scheduling and helps avoid delays once you’re ready to move forward.
Days 3-5: Site Inspection & Project Evaluation
Once you’ve made contact, the next step is a site inspection. This is where a contractor visits your property to examine the surface more closely and confirm whether resurfacing is the right solution. They’ll walk the area, take measurements, assess the pavement’s current condition, and check for issues like drainage problems, deep cracks, or structural damage beneath the surface.
You might wonder, “Do I really need resurfacing, or can I get away with a few quick patches?” That’s exactly what the inspection is for. If your pavement’s foundation is still solid but the top layer is worn, asphalt resurfacing is usually the most cost-effective option. It adds a fresh, durable layer without the expense of tearing everything out.
After the inspection, you’ll typically receive a proposal that outlines the scope of work, estimated cost, and project timeline. This gives you a clear picture of what’s involved—no surprises, just transparency.
A Few Days Before the Project: Time to Prep the Area
Once the project is scheduled, it’s time to prepare your property. A little preparation goes a long way in keeping everything on track and ensuring a smooth, efficient job.
Here’s what you’ll need to take care of ahead of time:
- Clear the area of vehicles and large objects: Move cars, trailers, trash bins, or anything that might be in the way of the crew or equipment.
- Notify others who use the space: Whether tenants, employees, or neighbors, let them know that the area will be temporarily unavailable.
- Mark or flag sensitive areas: Mark sprinkler heads, landscaping, or utility covers near the edge of the pavement clearly to avoid damage.
- Confirm access points: Make sure there’s a clear path for equipment to get in and out of the area.
A common question at this stage is: “Will I lose access to my driveway or lot?”
Yes—but only temporarily. Most contractors will give you a heads-up on exactly when and for how long the area will be off-limits. For residential jobs, it’s often just 24–48 hours. Commercial properties may need to block off sections in stages to maintain access while the work is underway.
With the area prepped and expectations clear, you’ll be ready for resurfacing day.
The Big Day: Resurfacing Begins
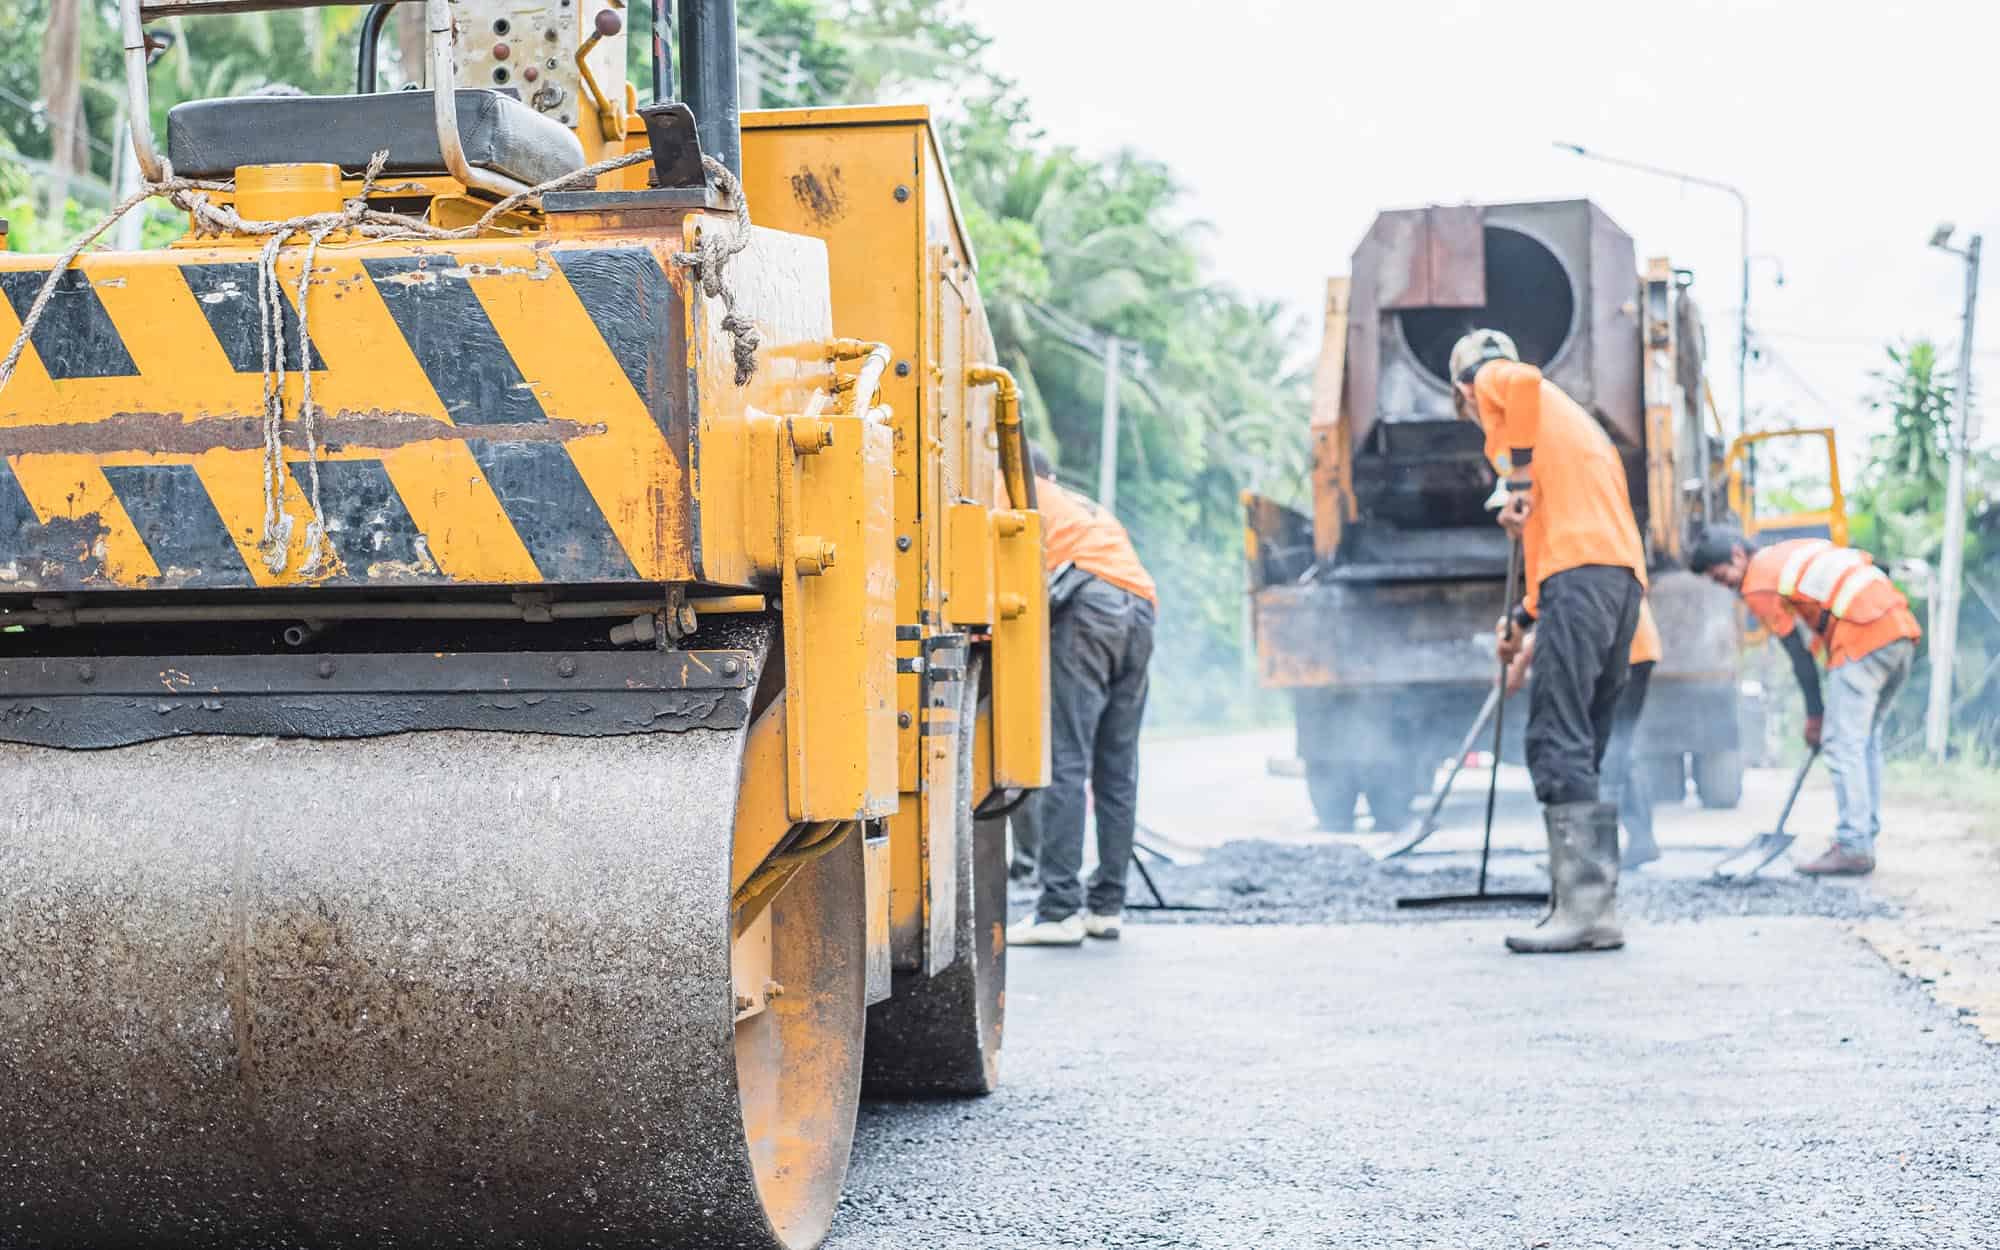
The big day is here, and if everything is prepped and ready to go, the crew will move quickly and efficiently to complete the resurfacing process. From the outside, it might just look like machines rolling back and forth, but there’s a methodical system behind every step. Here’s a deeper look at how the job unfolds:
Step 1: Surface Cleaning and Prep Work
Before any new material is added, the existing pavement has to be completely cleaned. The crew will use blowers, brooms, and sometimes pressure washers to remove dust, dirt, gravel, and plant growth. If the surface isn’t properly cleaned, the new asphalt layer won’t bond correctly, which could lead to early failures or peeling.
Sometimes, small sections may be milled or roughened to promote better adhesion. If there’s standing water or heavy staining from oil or chemicals, those areas may need additional prep or treatment before continuing.
Step 2: Spot Repairs and Leveling
Next, the crew addresses any issues that could impact the structural integrity of the resurfacing job. This includes:
- Filling potholes or wide cracks
- Replacing loose or crumbling asphalt patches
- Leveling out depressions or areas that have sunken over time
While asphalt resurfacing isn’t a full replacement, the surface underneath must still be as even and stable as possible. Think of it like painting a wall—you wouldn’t apply fresh paint over peeling areas without smoothing them first.
Step 3: Tack Coat Application
Once repairs are done, a thin layer of tack coat is sprayed over the entire surface. This asphalt-based adhesive creates a strong bond between the old pavement and the new asphalt layer. It’s sticky by design—and crucial for making sure the new surface stays locked in place for the long haul.
Tack coat may look shiny or greasy as it’s applied, but that’s a good thing. It means it’s actively working to create a durable seal between the layers.
Step 4: A New Asphalt Layer Is Laid Down
Now comes the most visible step: laying the new layer of hot mix asphalt. Using a paving machine, the material is applied smoothly and evenly across the surface. The layer is typically 1.5 to 2 inches thick, depending on the condition of the existing pavement and the expected traffic load.
This is where precision matters. Crews work in sections, ensuring each pass aligns correctly and keeps a consistent grade. They’ll also feather the edges to blend the new asphalt seamlessly with any adjacent surfaces.
Step 5: Compaction and Finishing Touches
After the new asphalt is spread, heavy rollers pass over the area multiple times to compact the surface. This step is critical—it eliminates air pockets, tightens the mix, and ensures the pavement is strong enough to handle daily use. Without proper compaction, the surface may appear smooth but won’t hold up under pressure over time.
- Final touch-ups may include:
- Hand-tamping edges or tight corners
- Adjusting drainage flow
- Cleaning up the site to leave a neat, finished appearance
Equipment You’ll Likely See On-Site
- Asphalt Pavers: For laying hot mix asphalt evenly
- Steel Drum and Pneumatic Rollers: For compacting the surface
- Compactors and Plate Tampers: For edges and hard-to-reach areas
- Milling Machines (if needed): To remove high spots or damaged layers
- Blowers and Sweepers: For surface cleaning before and after
Each machine plays a specific role in creating a surface that’s attractive and built to last.
Common Question: How Long Does Asphalt Resurfacing Take?
In most residential cases, resurfacing projects can be completed in one day, sometimes even just a few hours. For larger commercial lots or more complex spaces, the project might take two to three days, especially if the area needs to be resurfaced in sections to maintain access.
Weather, surface condition, and scope of work all affect the timeline, but a good contractor will provide a clear schedule in advance so you can plan accordingly.
Want a fresh, durable surface without the stress? Explore our asphalt resurfacing services to see how a well-planned project can improve your property with minimal disruption. We’ll help you get the results you need on time and on budget.
Day 1–3 After the Job: Curing Time & Access Guidelines
Once the asphalt resurfacing is complete, the most important thing you can do is give the new surface time to cure properly. Asphalt doesn’t harden instantly. It needs time to cool, settle, and form a strong bond with the existing pavement underneath. How you treat the surface during the first few days can make a big difference in how long it lasts.
How Long Before You Can Use It?
For most residential projects, you should avoid driving or parking on the new asphalt for at least 24 to 48 hours.
In cooler weather, that time frame might be shorter. In hot, humid conditions, it may take closer to 72 hours before the surface is fully ready for regular use.
Pedestrian traffic is usually safe after a few hours, but always confirm with your contractor just to be sure.
Protecting the Surface While It Cures
Even after the initial curing period, the surface is still soft enough to be damaged by certain activities. To protect your new asphalt, follow these tips during the first few days:
- Avoid sharp turns when driving, especially while the surface is still warm
- Don’t park heavy vehicles in one spot—this can cause indentations
- Keep bikes, trailers, and sharp objects off the surface to prevent scarring
- Watch for oil or fluid leaks from parked cars—these can stain or weaken new asphalt
Some surface changes are completely normal during this phase. You might notice slight color variations, a bit of surface sheen, or minor scuff marks from tires. These issues usually fade with time and don’t affect the performance of the pavement.
1 Week After Resurfacing: Light Use Returns to Normal
After about a week, your new asphalt surface will have cured enough for regular, everyday use. At this point, you can return to normal routines—driving, parking, and walking on the surface without much concern. The pavement should feel firm underfoot, and most of the early softness will have settled.
That said, the asphalt is still relatively “new,” and a few precautions can help you get the best long-term results.
[/av_textblock][/av_one_full][av_one_full first min_height=”” vertical_alignment=”” space=”” custom_margin=”” margin=”0″ row_boxshadow=”” row_boxshadow_color=”” row_boxshadow_width=”10″ link=”” linktarget=”” link_hover=”” padding=”0″ highlight=”” highlight_size=”” border=”” border_color=”” radius=”0″ column_boxshadow=”” column_boxshadow_color=”” column_boxshadow_width=”10″ background=”bg_color” background_color=”” background_gradient_color1=”” background_gradient_color2=”” background_gradient_direction=”vertical” src=”” background_position=”top left” background_repeat=”no-repeat” animation=”” mobile_breaking=”” mobile_display=”” av_uid=’av-g7p3g0k’] [av_heading heading=”Tips for the First Week and Beyond: ” tag=”h3″ style=”blockquote modern-quote” subheading_active=”subheading_below” show_icon=”” icon=”ue800″ font=”entypo-fontello” size=”” av-desktop-font-size-title=”” av-medium-font-size-title=”” av-small-font-size-title=”” av-mini-font-size-title=”” subheading_size=”” av-desktop-font-size=”” av-medium-font-size=”” av-small-font-size=”” av-mini-font-size=”” icon_size=”” av-desktop-font-size-1=”” av-medium-font-size-1=”” av-small-font-size-1=”” av-mini-font-size-1=”” color=”custom-color-heading” custom_font=”” subheading_color=”” seperator_color=”” icon_color=”” margin=”0″ margin_sync=”true” av-desktop-margin=”” av-desktop-margin_sync=”true” av-medium-margin=”” av-medium-margin_sync=”true” av-small-margin=”” av-small-margin_sync=”true” av-mini-margin=”” av-mini-margin_sync=”true” headline_padding=”” headline_padding_sync=”true” av-desktop-headline_padding=”” av-desktop-headline_padding_sync=”true” av-medium-headline_padding=”” av-medium-headline_padding_sync=”true” av-small-headline_padding=”” av-small-headline_padding_sync=”true” av-mini-headline_padding=”” av-mini-headline_padding_sync=”true” padding=”0″ av-desktop-padding=”” av-medium-padding=”” av-small-padding=”” av-mini-padding=”” icon_padding=”10″ av-desktop-icon_padding=”” av-medium-icon_padding=”” av-small-icon_padding=”” av-mini-icon_padding=”” link=”manually,https://” link_target=”” title_attr=”” id=”” custom_class=”” template_class=”” av_uid=”av-i38q0wk” sc_version=”1.0″ admin_preview_bg=”] [/av_heading][av_textblock fold_type=”” fold_height=”” fold_more=”Read more” fold_less=”Read less” fold_text_style=”” fold_btn_align=”” textblock_styling_align=”” textblock_styling=”” textblock_styling_gap=”” textblock_styling_mobile=”” size=”” av-desktop-font-size=”” av-medium-font-size=”” av-small-font-size=”” av-mini-font-size=”” font_color=”default” color=”” fold_overlay_color=”” fold_text_color=”” fold_btn_color=”theme-color” fold_btn_bg_color=”” fold_btn_font_color=”” size-btn-text=”” av-desktop-font-size-btn-text=”” av-medium-font-size-btn-text=”” av-small-font-size-btn-text=”” av-mini-font-size-btn-text=”” fold_timer=”” z_index_fold=”” id=”” custom_class=”” template_class=”” av_uid=”av-hkjlcd0″ sc_version=”1.0″ admin_preview_bg=”]
- Rotate parking spots when possible to avoid tire marks or depressions in high-use areas.
- Avoid placing heavy items, like dumpsters or equipment, on the surface until it has fully cured.
- Be cautious with lawn equipment or trailers, especially ones with narrow wheels that can dig into the pavement.
Keep an eye on how water flows across the surface, too. If you notice any pooling or drainage issues, flag them early. Small problems are easier to address before they develop into bigger concerns.
This first week is also a great time to start thinking about long-term post-resurfacing maintenance, especially if you want to protect your investment for the long haul. Sealcoating and routine inspections go a long way in keeping that fresh, clean look and extending the life of your pavement.
30–90 Days After Resurfacing: Long-Term Protection
Your new asphalt surface should be fully cured and holding up well under daily use by now. But to keep it looking sharp and performing like new, it’s important to give it the right care moving forward.
When to Sealcoat
One of the best ways to protect your resurfaced asphalt is by applying a sealcoat. This thin protective layer helps shield the surface from UV rays, moisture, oil stains, and oxidation. Most contractors recommend waiting at least 90 days before sealcoating to ensure the asphalt has fully cured.
Sealcoating every 2–3 years after that will help preserve the fresh look and extend the life of your surface by several more years.
Post-Resurfacing Maintenance Tips for the Long Term
- Sweep regularly to remove debris, leaves, and standing water.
- Fill small cracks early to prevent moisture from getting underneath.
- Watch for drainage issues after heavy rain—standing water can break down the surface over time.
- Avoid using harsh chemicals or de-icers that can soften or degrade asphalt.
A few small habits now can save you big later. With the right maintenance plan, your resurfaced pavement can stay smooth, durable, and great-looking for well over a decade.
Get a Clear, Customized Plan With Phillips Paving
Reach out to the team at Phillips Paving to get a clear, customized plan for your project, from the initial inspection to long-term care. We’ll walk you through every step and make sure your property gets the durable, polished surface it deserves.